A recent study shows that 80% of shoppers are open to purchasing a car online. Even those who don’t want to complete the entire process online will start there, browsing dealership websites to find the perfect vehicle. So you need your inventory to look its best. This week, we have five tips to take great pictures of your inventory.
Inventory photos are one of the cornerstones of the modern automotive marketplace.
1. Look at the manufacturer’s website
Your OEM has the same goal as you do: to sell their cars. Pay attention to the angles they use, as well as lighting and backgrounds. Benefit from their extensive experience to see how they best showcase their brand.
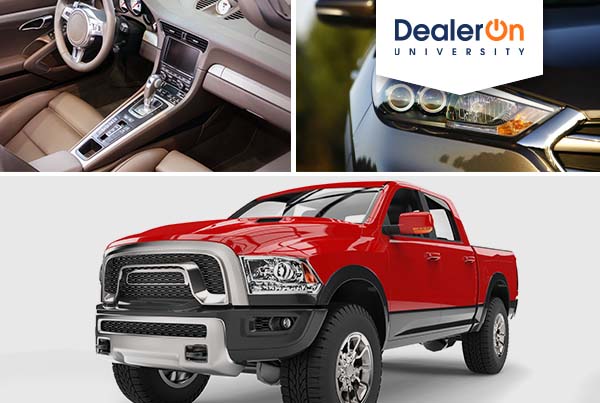
Some spoilers: with a little research, you’re going to quickly notice that for exteriors, OEMS like to use a 3/4 view as a main image, backed up with some 1/4 and head on shots. For interiors, look for shots from the backseat into the front, through the front windows, and low-angles of the door handles.
Ready to supercharge your dealership website experience?
Schedule a free demo and we’ll show you how!
2. Lighting, lighting, lighting
Note that this is lighting, not lightning. Big difference.
So much of a good photo comes down to the lighting. Shadows can easily make a beautiful person look sinister and dim lighting can strip the shine off a great new vehicle. If you have an indoor studio, great! You probably know more about photography than I do.
If you don’t, wait until the hour after sunrise or before sunset and take the pictures then. It’s called magic hour for a reason.
The car is the star of your photos, and you need to keep that in mind.
3. The devil’s in the detailing
This should be a given, but before taking any pictures, get the vehicle detailed. Displaying a photo of a dirty car won’t motivate anyone to buy, and it reflects poorly on you.
4. Quality is the most important, but don’t forget quantity
Customers have grown accustomed to being able to view every angle of a potential purchase. The angles mentioned in tip #1 are the most important, but they aren’t the only ones you need. Fill out a complete catalogue of shots to help the customer feel like they can see every part of the car.
Get shots of the dashboard, entertainment unit, speakers, shift knob, window controls, cup holders, center console, and speakers. Include shots of the car with hood and trunk open, as well as a view inside both. You should look to have a total of 12-15 pictures on every car in your lot.
5. The right background is necessary
The car is the star of your photos, and you need to keep that in mind. You might be tempted to put it in front of your store for branding purposes or drive it to some cliffside for a scenic shot. Don’t.
The right background is in front of a corner with walls and floor painted in a neutral color. Your customer’s eyes should have nowhere to go but on the vehicle itself. As for branding, you have enough of that on your site’s header.
These five tips will put you on the right path of taking great pictures of your inventory. We can’t wait to see what you do.
More Articles From DealerOn University
-
- For customer experience, your website is only the beginning. These six tips will help improve your customer experience.
- Everything you need to know about the Google FLoC privacy update.
- Looking at EVs on the horizon.